How to Press Flowers
in A Book
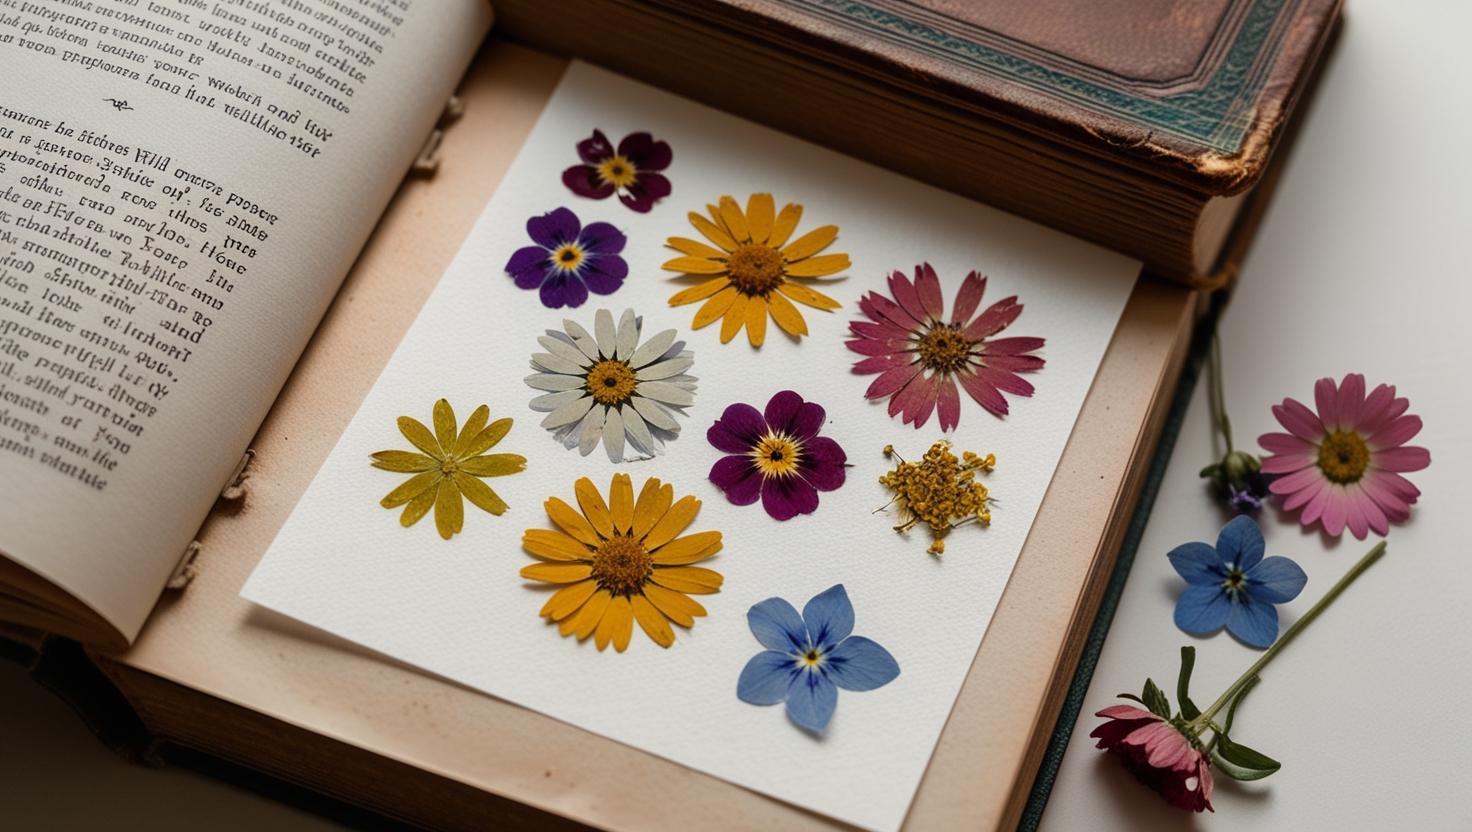
Press flowers in a book - it's a delightful way to preserve nature's beauty and create lasting memories from your garden. As someone who has fallen in love with this charming craft, I'm excited to guide you through this magical journey of flower pressing that transforms delicate blooms into beautiful botanical artwork.

Getting Started: Essential Materials
Before we dive into the pressing process, let's gather our materials. You'll need :
- heavy books (hardcover encyclopedias or dictionaries work wonderfully). But you can use any book.
- parchment paper or plain printer paper
- your chosen flower
- sticker or post it! to label pages
- a sprinkle of patience.
That's it! Isn't it amazing how simple the requirements.
Selecting Your Flowers
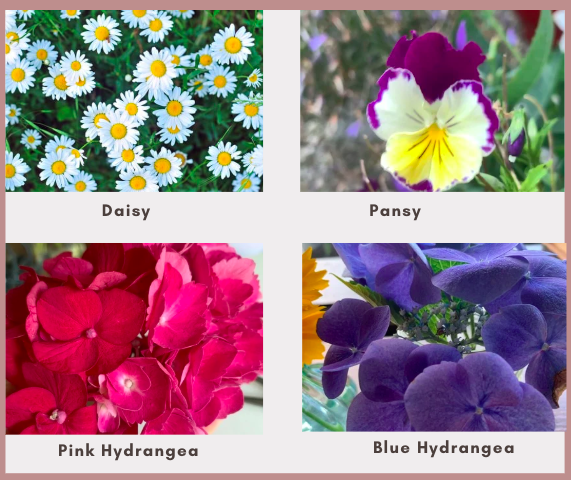
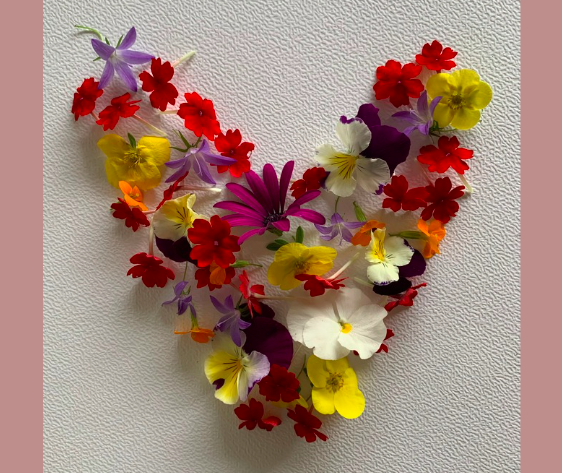
Which flowers are the best for this method? The answer lies in choosing flowers that are relatively flat and not too thick or succulent. Daisies, pansies, violets, hydrangea, crocus, and small wildflowers are some of perfect candidates for your first pressing adventure.
For optimal results, collect your flowers on a dry, sunny day after the morning dew has evaporated. Choose blooms that are in their prime - not too young or too old, and free from blemishes or insect damage.

The Pressing Process
Now comes the exciting part! Here are the steps:
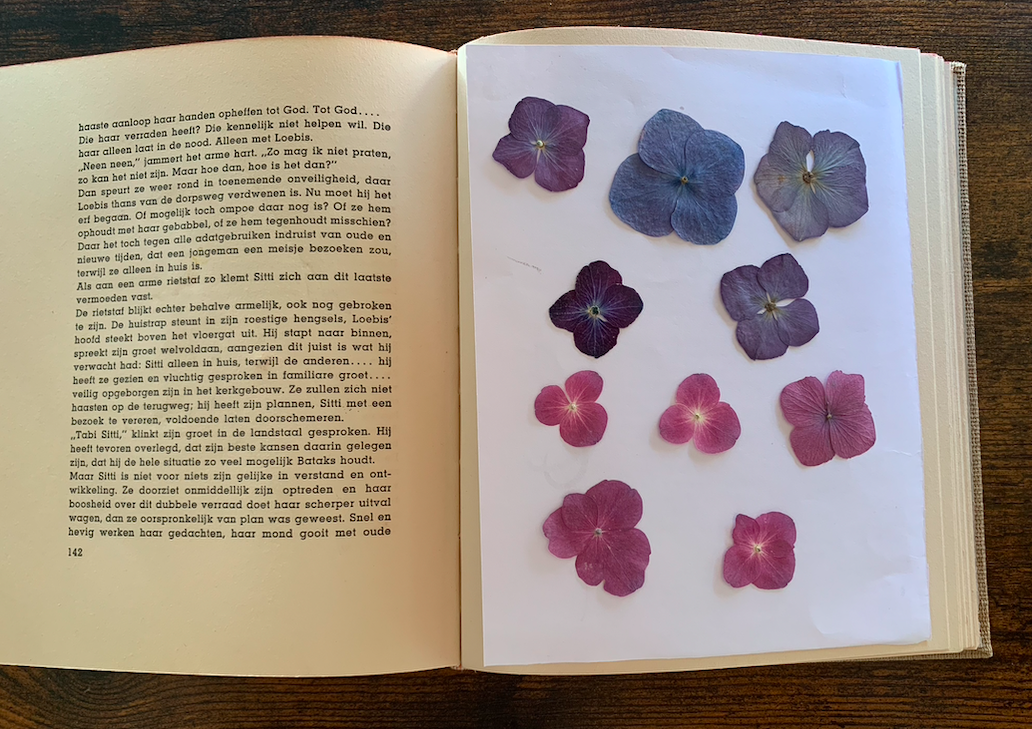
- Start by opening your chosen book to the middle. Place a sheet of parchment paper on the right page to protect the book from moisture and potential staining.
- Carefully arrange your flowers on the parchment paper, ensuring they don't overlap and not too close to each other so they can dry equally. You can put the whole flower or take the petals out of the flowers first and put them on the paper.
- Gently place another sheet of parchment paper over your flowers, then close the book carefully. Stack additional heavy books on top to create more pressure.

If you want to press more flowers in a book, ensure that there are enough pages between pages you use to put flowers on it. I'd say about 30 pages. Of course it depends on how thick the pages are.
Timing and Patience
How long does it take to press flowers in a book? Generally, the process takes 2-4 weeks, depending on the flower's thickness and moisture content. Thin, delicate blooms might be ready in two weeks, while thicker flowers need more time.
So the flowers are in the book now. What should you do next? First, relax. After three or four days you can check it. Then you should pay attention to the following:
- If you cannot move the flower with your finger, it is still wet. Leave it in there.
- If you can move it but not easily and it feels cool or damp to the touch, they need more time. You can replace the paper and/or move the paper to another page.
- If you can move it easily with your finger, then… Congratulations! Because it is already dried. You just have your first pressed flower. Are you happy with it?
Storage Solutions
Now you have fresh pressed flowers but you can not use it yet because you still wait for another ones that are still in the proces. How should you store them?
Here are some ways:
- You can keep them in another book. Store your pressed flowers between sheets of acid-free paper in a dry, dark place. Put a sticker op the page so you can find them easily in the book if you need them.
- If you have a lot, you can put them between sheets of acid-free paper and do in a plastic bag. Then put the bags in a binder. You can store them by color or by type of flowers. They can last for years when properly preserved, allowing you to create whenever inspiration strikes.
Tips for Success for how to press flowers in a book
- Position your book-pressing station in a dry, warm area with good air circulation. Avoid humid spaces, as moisture can lead to molding. Put a paper or a sticker on a page where flowers are put. So you can open the page easily if you check it.
- Check your flowers after the first week, but be very gentle when lifting the paper. If you can move it easily with your finger, then it is dried. If they still feel cool or damp to the touch, they need more time.
- Use a tweezers to take the dried flower from the paper. Take it carefully as pressed flowers are very delicate.
- You can use kitchen paper as it absorbs but be aware that the motief on the paper can be printed on the flowers.
- Put a note on the cover of the book for names of the
flowers and pressing date. So you get an indication how long your next pressing would take if you later press the same kind of flowers.
- I don't recommend books with smooth pages. They don't absorb well.
We talk about pressing flowers but you can press much more. What do you think of leaves, twigs, ferns, even peel? Did I arouse your curiosity? Ok, I’d like to tell you more about it but I'll keep it for later.
Press flowers in a book to create lasting memories and beautiful artwork. This simple yet rewarding craft connects us with nature while producing stunning results. Whether you're preserving wedding bouquets or garden blooms, you're creating pieces of art that capture nature's fleeting beauty forever.
So enjoy the proces and the result of flowers that you press in a book.
